Setting Proxy Authentication
Description
This document is intended to show how to set proxy information for the Lenovo Patch plugin.
If your internet connection goes through a proxy, this may be required for Lenovo Patch to be able to successfully publish updates.
Solution
- In the Configuration Manager console, navigate to Software Library > Software Updates > Lenovo Patch > Updates.
- Click the Settings button on the ribbon bar.
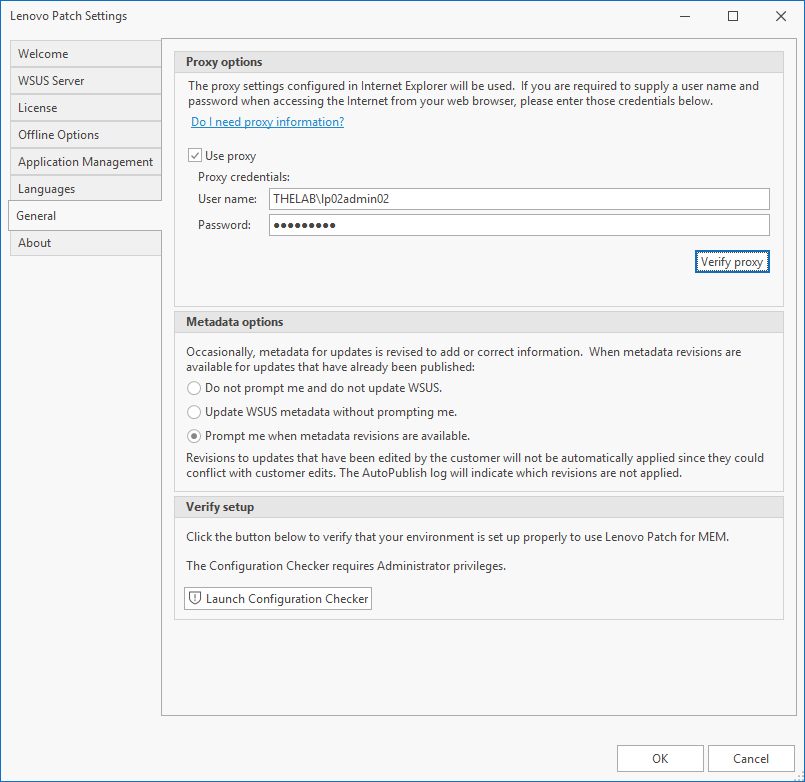
- Navigate to the General tab within the Lenovo Patch Settings dialog.
- (Optional) You can click on 'Do I need proxy information?' to run a quick test to see if Lenovo Patch can successfully connect to the internet.
- Put a check in the box next to Use Proxy.
- Enter the username and password required for proxy authentication. If your proxy does not require authentication you most likely do not need to enter these settings.
- Click the Verify Proxy button.
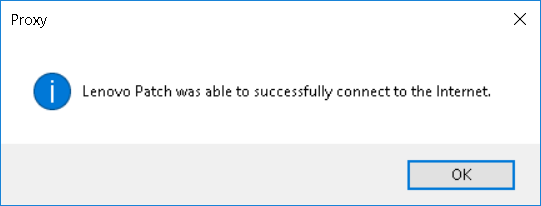
- You will be notified with a Proxy dialog stating the results of the proxy test connection to the internet.
- Click OK.
- Click OK to close the Lenovo Patch Settings dialog.
Additional Information
If you are having problems connecting with Lenovo Patch you may also need to consider making exceptions in your proxy or firewall. The following link has the URL Exception List for resolution: Lenovo Patch: URL Exception List.
Related Articles
Viewing and Setting Incident Severity Levels
About Incident Severity Each incident, issue, or event on ThinkShield Firmware Assurance (TSFA) is assigned a Severity Level, which indicates the level of importance and suggests potential actions needed for a specific device. These severity levels ...Setting Incident Notifications
Incidents This feature allows users to customize their alert preferences based on the severity level of incidents: Low and higher, Moderate and higher, or High only. When an incident matches the selected severity level, users are promptly notified ...Setting Up Data Defense
After completing the installation and activating your account, you can proceed to set up Data Defense. Log in to your account and follow the on-screen wizard, which will guide you through: Setting up a Secure Drive (if available). Configuring folder ...Getting Started - Links and Prerequisites
1. Lenovo Patch User Guide, Upgrade Guide, and Release Notes Lenovo Patch 2.5 User Guide Lenovo Patch 2.5 Upgrade Guide Lenovo Patch 2.5 Release Notes Lenovo Patch End-User License Agreement These release notes support the current version of Lenovo ...REST API Integration
REST API Integration This feature enables seamless data integration between the TSFA platform and third-party systems using REST APIs. External applications can securely access and leverage TSFA-specific data by authenticating with a Client ID and ...